Ultralight Base Weight: What It Means and How to Cut Yours
If you are trying to go lighter on the trail, you will hear one phrase over and over: ultralight base weight. It is the number backpackers use to compare kits, set goals, and decide which gear upgrades actually matter.
This guide defines that number in plain terms, walks through how to calculate it, outlines the common weight bands hikers use, and shows what to cut first when you are moving from a traditional pack toward an ultralight setup. The goal is not a mythical sub-5-pound kit. It is a clearer pack-weight decision process you can repeat before every trip.
Key takeaways
- Base weight = packed gear minus food, water, and fuel (worn clothes stay out).
- Use it to compare kits; total pack weight swings with trip length and water carries.
- Community bands: traditional ~20+ lb · lightweight ~10–20 lb · UL under ~10 lb · SUL under ~5 lb — conventions, not standards.
- Cut in order: Big Three (shelter, sleep, pack) → duplicates → trip-specific gear → ounces.
- Weigh with a kitchen scale, not catalog claims; track categories in Pack Builder.
What is base weight?
Base weight is the weight of everything in your pack except consumables — food, water, fuel (including stove canisters), and other items that get used up on the trip (such as water-treatment tablets you will finish).
Usually counts toward base weight
These packed items are what most hikers include when they tally the number:
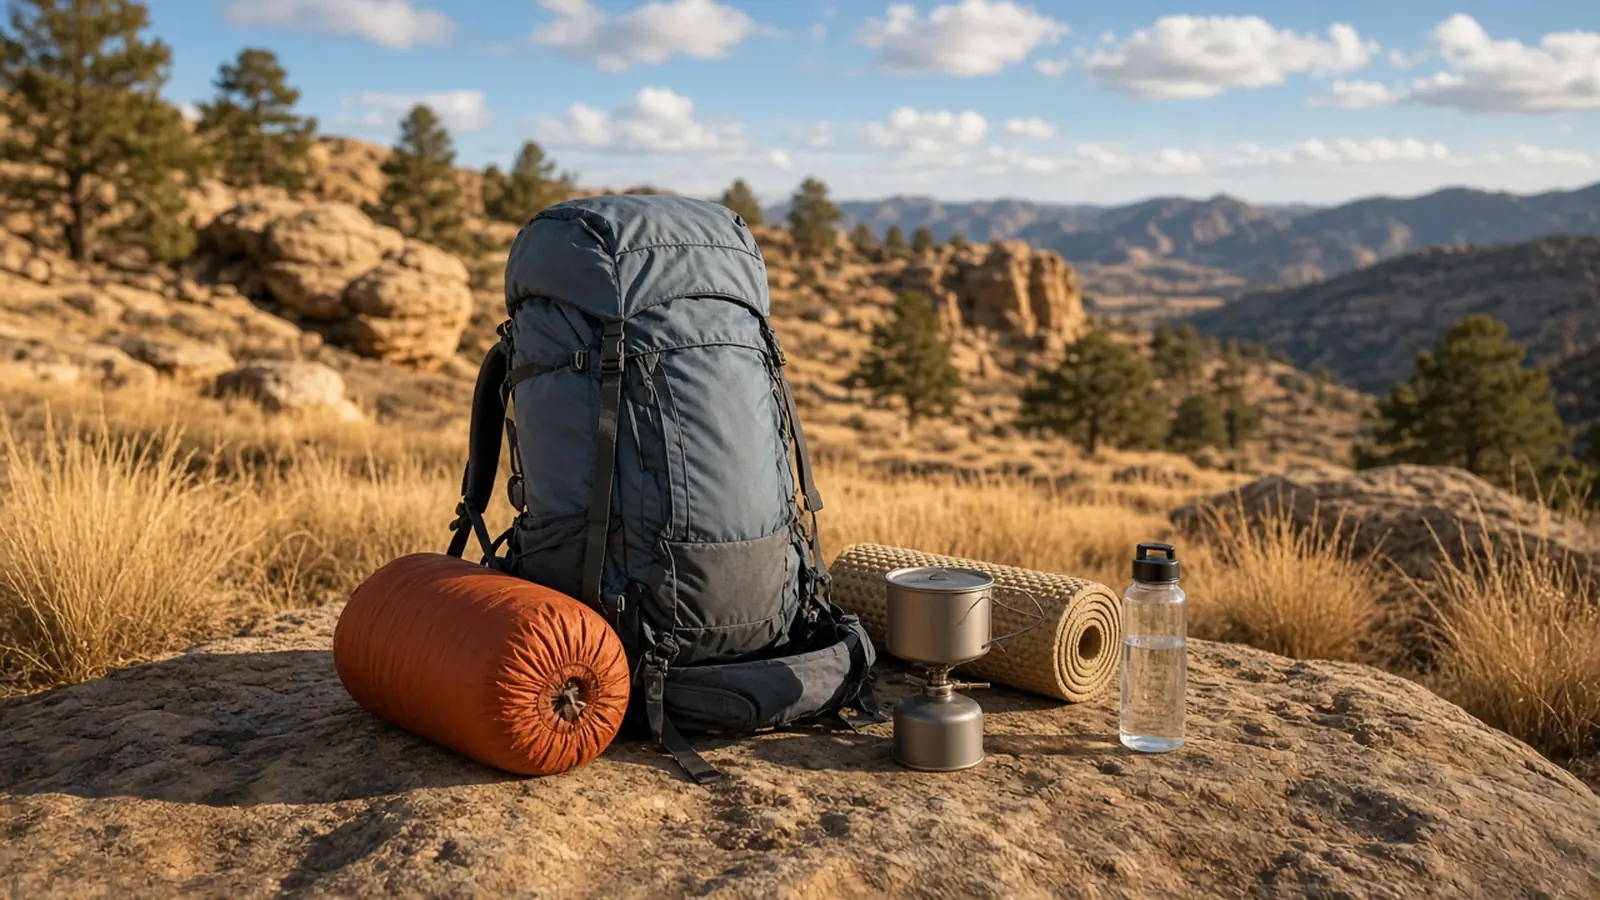
- Backpack (the pack itself)
- Shelter (tent, tarp, stakes, guylines, groundsheet if packed)
- Sleep system (bag or quilt, pad, pillow if carried)
- Packed clothing (rain shell, insulation, spare layers you are not wearing)
- Cook system hardware (stove, pot, utensils — empty; fuel is consumable)
- Water-treatment hardware (filter, pump, or empty bottles/bladder)
- Navigation, light, first aid, repair, and hygiene kits you carry in the pack
- Other packed extras (sit pad, camp shoes, electronics you stow, etc.)
Related numbers
Two related numbers sit beside it:
- Worn weight — clothes and boots (or trail runners) you wear while hiking, plus items you keep on your body such as a watch, phone in a pocket, or trekking poles in hand. These are usually not counted in base weight.
- Consumable weight — food, water, fuel, and other items that get lighter as the trip goes on.
- Total pack weight (or total carried load) — base weight + consumables. This is what you actually hoist onto your back at the trailhead, but it changes with trip length and water carries, so it is a weak number for comparing kits.
That packed-gear total is the useful comparison metric because it stays relatively constant: it reflects your gear decisions, not how many days of food you packed for this particular weekend.
Quick formula
Base weight = packed gear weight − food − water − fuel
(Exclude worn clothing and footwear.)
Different hikers draw the line a little differently on edge cases (camera, bear canister, group gear). What matters most is that you are consistent from trip to trip so your own number is meaningful. If you use Pack Builder, put trip-variable shared gear where you will remember it every trip.
Why ultralight base weight matters more than total pack weight
Total pack weight swings wildly. A three-day trip with a dry water carry looks nothing like a week-long trip with four liters at the start. If you only track “how heavy my pack felt at the trailhead,” you cannot tell whether a new shelter actually helped — or whether you just carried less water that day.
The kit number answers a better question: How heavy is the gear I have to carry every mile, every day, until I get home?
That matters when you are:
- Planning longer days or steeper terrain
- Recovering from joint or back strain and want a lighter constant load
- Shopping for shelter, sleep, or a pack and need a shared yardstick
- Building toward an ultralight backpacking weight goal without guessing
It also keeps base weight backpacking comparisons honest. Swapping a 4-pound tent for a 2-pound tent drops your kit weight by about 2 pounds whether the trip is one night or ten. That is a real, repeatable win.
For a broader look at what belongs in a solid kit before you start cutting weight, see our essential backpacking gear checklist.
Common base weight ranges (traditional → ultralight)
These bands are community conventions, not official standards. Treat them as mile markers, not membership tests. Nothing magical happens at exactly 10.0 pounds (about 4.5 kg).
| Category | Typical base weight (approx.) | What it usually looks like |
|---|---|---|
| Traditional / conventional | Roughly 20+ lb (~9+ kg) | Full-featured tent, heavier pack and sleep system, more “just in case” extras |
| Lightweight | Roughly 10–20 lb (~4.5–9 kg) | Intentional gear choices; still room for comfort and redundancy |
| Ultralight (UL) | Under ~10 lb (~4.5 kg) | Tight Big Three, quilt or lighter bag, fewer duplicates, disciplined packing |
| Super ultralight (SUL) | Under ~5 lb (~2.3 kg) | Highly specialized kits; steep trade-offs in comfort, durability, or conditions |
A practical note for hikers leaving traditional kits behind: dropping from the mid-20s toward the mid-teens often feels better on the trail than chasing the last pounds into true UL. Many weekend and week-long hikers are happiest somewhere in the lightweight band (often roughly 12–18 lb / ~5.4–8.2 kg for three-season trips), then trim further only if the miles demand it.
Your “right” number depends on season, terrain, experience, and risk tolerance. Cold nights, alpine weather, and remote routes justify more insulation and margin. Mild summer weekends invite more aggressive cuts. Some hikers also use a rough community guideline of keeping total carried load near about 20% of body weight — useful as a starting check, not a study result.
How to calculate base weight (step by step)
You do not need a fancy spreadsheet on day one — but a kitchen scale and a written list beat guessing every time. Honest categories and weighed ounces matter more than a perfect spreadsheet.
1. Empty the pack and sort three piles
- Worn — what you hike in (clothes, footwear, poles in hand, worn accessories)
- Consumables — food, water, fuel
- Base — everything else that goes in or on the pack
2. Weigh each base item (or weigh the pack full of base gear only)
Weigh items in ounces or grams — whatever you will stick with. Record the pack itself; it counts. If you only weigh a stuffed pack that still has a water bottle and snacks inside, your number will be inflated.
Spec sheet vs. kitchen scale: Manufacturer “product weights” often omit stuff sacks, stakes, straps, or the version you actually own. For a number you can trust, weigh the packed setup on a kitchen scale. Catalog claims are fine for shopping comparisons; they are a weak foundation for your own kit log.
3. Add it up (and convert once)
Sum ounces, then divide by 16 for pounds if that is how you think. Or keep everything in grams. Consistency beats precision to the tenth of an ounce.
4. Separate the categories when you log trips
Write down:
- Base weight
- Consumables (and how many days / water carry)
- Worn weight (optional, but useful)
- Total pack weight at the trailhead
That four-number snapshot makes later shakedowns easy.
5. Re-weigh after every major swap
New shelter? New quilt? New pack? Update the list the same day. Memory is a terrible scale.
If you already use LighterPack or keep a CSV gear list, you can import it into Clever Backpacking’s Pack Builder, which separates base weight, consumables (food & water), worn weight (clothes & boots), and total pack weight so you are not mixing categories by accident.
What to cut first: a decision order that actually moves the needle
Most traditional kits are heavy in predictable places. Cut in this order and you will usually save more weight than by obsessing over a titanium spork.
1. The Big Three (shelter, sleep system, backpack)
These three items often account for a large share of packed gear. Small percentage improvements elsewhere cannot match a typical 1–2 lb shelter swap or a lighter sleep system.
- Shelter — Evaluate whether a lighter tent, tarp, or other shelter fits your conditions and group size. Weight savings only “count” if you still sleep dry and safe. For the investment trade-offs, see Are Ultralight Tents Worth the Investment?.
- Sleep system — Bag or quilt + pad is usually your second-biggest lever. Match temperature rating to your real nights, not to fear. Our sleeping bag guide walks through that decision.
- Backpack — A lighter pack helps, but only after the load inside shrinks. Buying a frameless UL pack while still carrying 35 lb of gear is a comfort problem waiting to happen. Start with capacity and fit for your target kit weight; details are in our ultralight backpack guide.
2. Duplicates and “just in case” piles
Before you buy anything new, remove redundancy:
- Two full repair kits when one mini kit will do
- Extra clothing “for camp” that you never put on
- Multiple light sources when one primary + a phone backup is enough for your trips
- Heavy toiletries and full-size bottles on short outings
Cutting unused items is free weight savings — and it teaches you what you actually use.
3. Shared and trip-specific gear
Cook systems, water treatment, and first aid should match this trip:
- Group cook kit for a duo instead of two stoves
- Filter vs. chemical treatment based on water quality and cold
- First-aid kit sized to distance from help, not to a pharmacy aisle
4. Then chase the ounces (clothing, cookware, accessories)
Once the Big Three and redundancy are handled, lighter stove pots, thinner midlayers, and pared-down camp shoes start to matter. This is where ultralight catalogs shine — and where it is easy to overspend for tiny returns. Prioritize comfort and safety first; then buy ounces only when the math still makes sense for how many miles you hike.
A realistic path from traditional to ultralight
Think in stages so you do not replace an entire kit overnight.
Stage A — Measure (one evening) Weigh everything. Calculate your number. You now have a baseline, not a vibe. If you are still deciding what belongs in the kit at all, the Clever Gear Finder can help you sketch a starting list before you obsess over ounces.
Stage B — Edit (free) Remove unused gear. Share group items. Leave trail-town luxuries at home on short trips. Many hikers find several pounds here without buying anything.
Stage C — Upgrade the Big Three (budgeted) Shelter, sleep, then pack — in that rough order of impact for most people. Buy for the conditions you actually hike, not for Instagram SUL aesthetics.
Stage D — Refine (ongoing) Track what you used vs. carried. Adjust clothing systems. Revisit cook and water. Re-check the number after each change.
Somewhere in Stages B–C, many hikers land in a comfortable lightweight range. Pushing into a true ultralight base weight (commonly under ~10 lb) is optional. It is a tool for long miles and steep terrain, not a moral requirement for enjoying backpacking.
Mistakes that inflate base weight (or make the number meaningless)
- Counting worn clothes in the kit total — Your hiking shirt is worn weight. Mixing categories makes comparisons useless.
- Leaving food or a full bottle in the “base” weigh-in — That quietly turns the metric into total pack weight.
- Trusting the catalog instead of the scale — Missing stakes, stuff sacks, or straps add up.
- Buying a UL pack before cutting the load — Fit and frame needs follow carried weight.
- Cutting safety or sleep systems to hit a round number — A lighter kit that keeps you cold, lost, or under-prepared is not progress.
- Ignoring season and route — A summer 9 lb kit is not a template for shoulder-season ridgelines.
- Chasing SUL before you know what you use — Discipline and experience usually beat exotic fabrics.
Build your list in Pack Builder
Once you have a rough inventory, put the numbers where you can see them.
Clever Backpacking’s Pack Builder is a base-weight tool that lets you:
- Build a named gear list for a trip (with trip length and expected low temperature)
- Track base weight, consumables (food & water), worn weight (clothes & boots), and total pack weight separately
- Review a category breakdown and Clever Shakedown suggestions (weight-saving ideas and redundancy warnings)
- Import or export a LighterPack-compatible CSV if you already keep a list elsewhere
Use it to stress-test “what if I swap this shelter?” before you spend money — and to keep how to calculate base weight consistent across trips instead of reinventing the spreadsheet every weekend.
Looking for the full set of trip planners? See all of the Clever Backpacking tools.
You do not have to become an ultralight purist. Learn the definition, weigh honestly, aim for a realistic band for your trips, and cut in order: Big Three, redundancy, then ounces. A lighter, safer kit that matches the miles you actually walk beats guessing — every time.
Related reading
Essential backpacking gear checklist · Are ultralight tents worth it? · Choosing an ultralight backpack · Sleeping bag guide · Pack Builder · All tools