Essential Backpacking Gear Every Hiker Should Carry
Before you chase ounces or shop “must-buy” gadgets, you need a clear picture of essential backpacking gear—what actually belongs in a kit so you stay dry, warm, hydrated, oriented, and able to handle small problems on trail.
This page is a practical backpacking essentials checklist: the Big Three, core systems, and how to sort base vs worn vs consumable the same way Clever Backpacking’s tools do. It is a kit map, not an affiliate catalog and not a ranked product list. Once the list is solid, refine weight with our ultralight base weight guide and track every item in Pack Builder.
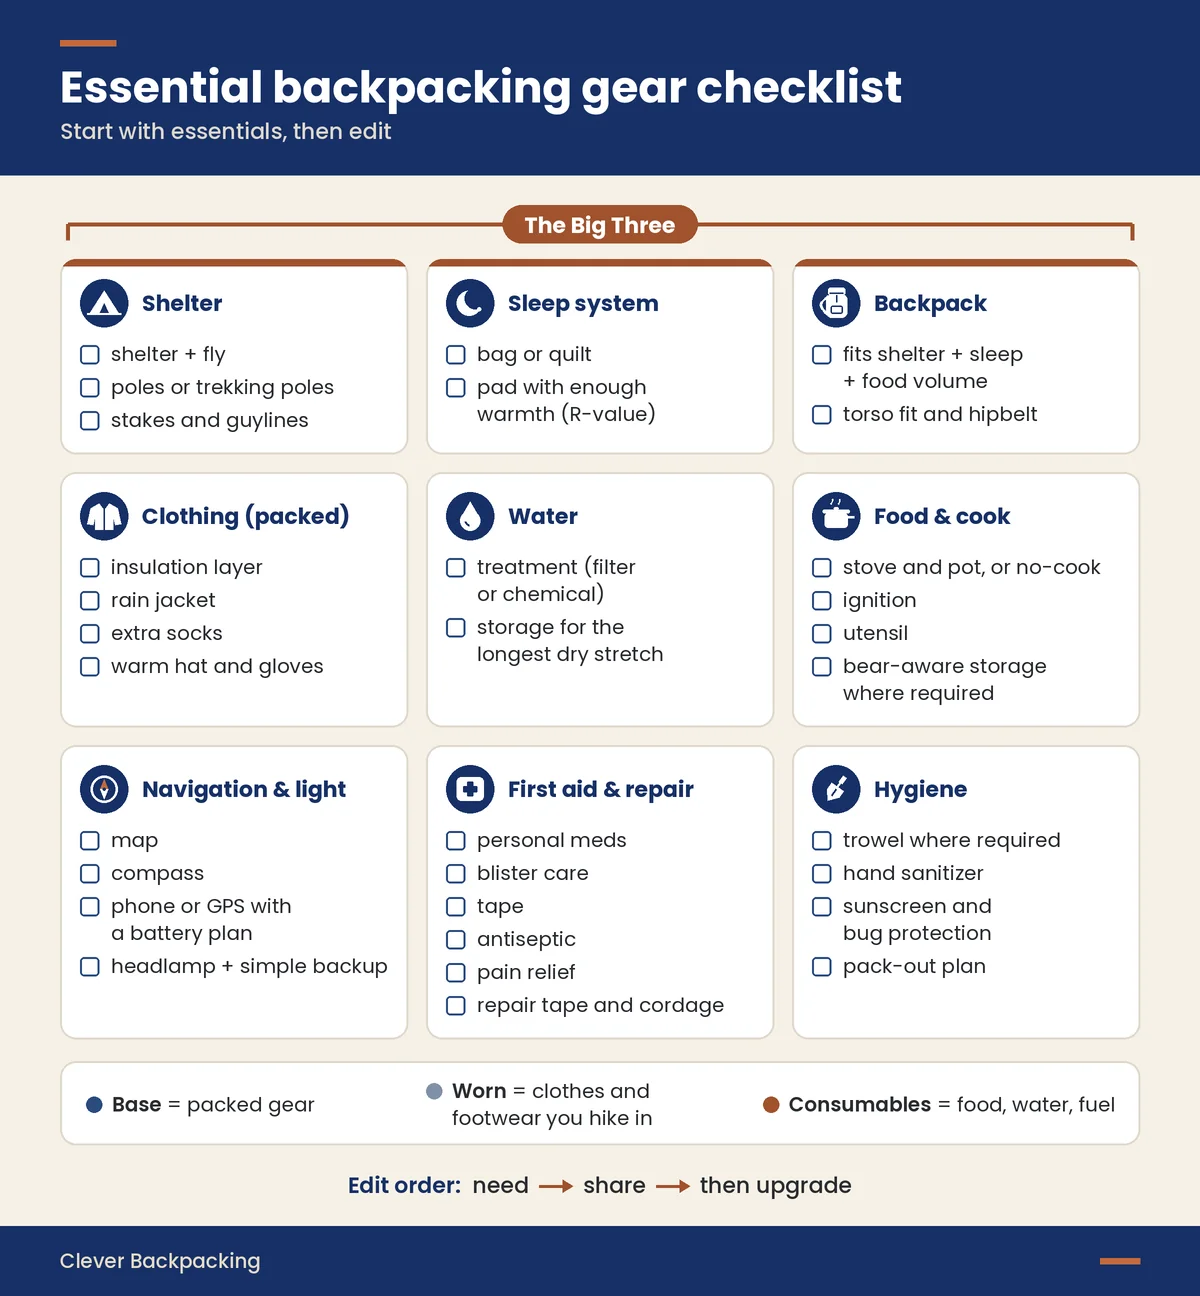
Key takeaways
- Start with essentials, then edit—do not start with a shopping cart of upgrades.
- The Big Three (shelter, sleep system, backpack) carry most of the kit’s risk and weight; get those right before titanium utensils.
- Separate base weight, worn weight, and consumables so your backpacking gear list stays comparable trip to trip.
- Systems beat gadgets: clothing layers, water treatment + storage, food/cook hardware, navigation/light/first aid/repair/hygiene.
- “Optional” gear is trip-specific—smart when the route or season needs it, dead weight when it does not.
- Edit order: need → share → then upgrade. Log the finished list in Pack Builder.
Base vs worn vs consumable
A solid backpacking checklist fails if you mix categories. Use the same language as Pack Builder and the base-weight guide:
- Base weight — Everything you carry every mile that is not food, water, or fuel: shelter, sleep system, pack, packed clothing, cook hardware, navigation, first aid, repair kit, and so on. This is the useful kit-comparison number.
- Worn weight — Clothes and footwear you hike in, plus body-carried items (watch, poles in hand, phone in a pocket). Usually not counted in base weight.
- Consumables — Food, water, fuel, and other items that get used up (treatment tablets you will finish, for example). They change with trip length and water carries.
- Total pack weight — Base + consumables (what you hoist at the trailhead). Useful for the day; weak for comparing kits across trips.
Why this matters for what to pack backpacking: a rain jacket in the pack is usually base; the shirt on your back is worn; three days of dinners are consumables. Mixing them makes “my pack is heavy” impossible to diagnose. Full definitions and cut order live in the ultralight base weight guide.
The Big Three (shelter, sleep system, backpack)
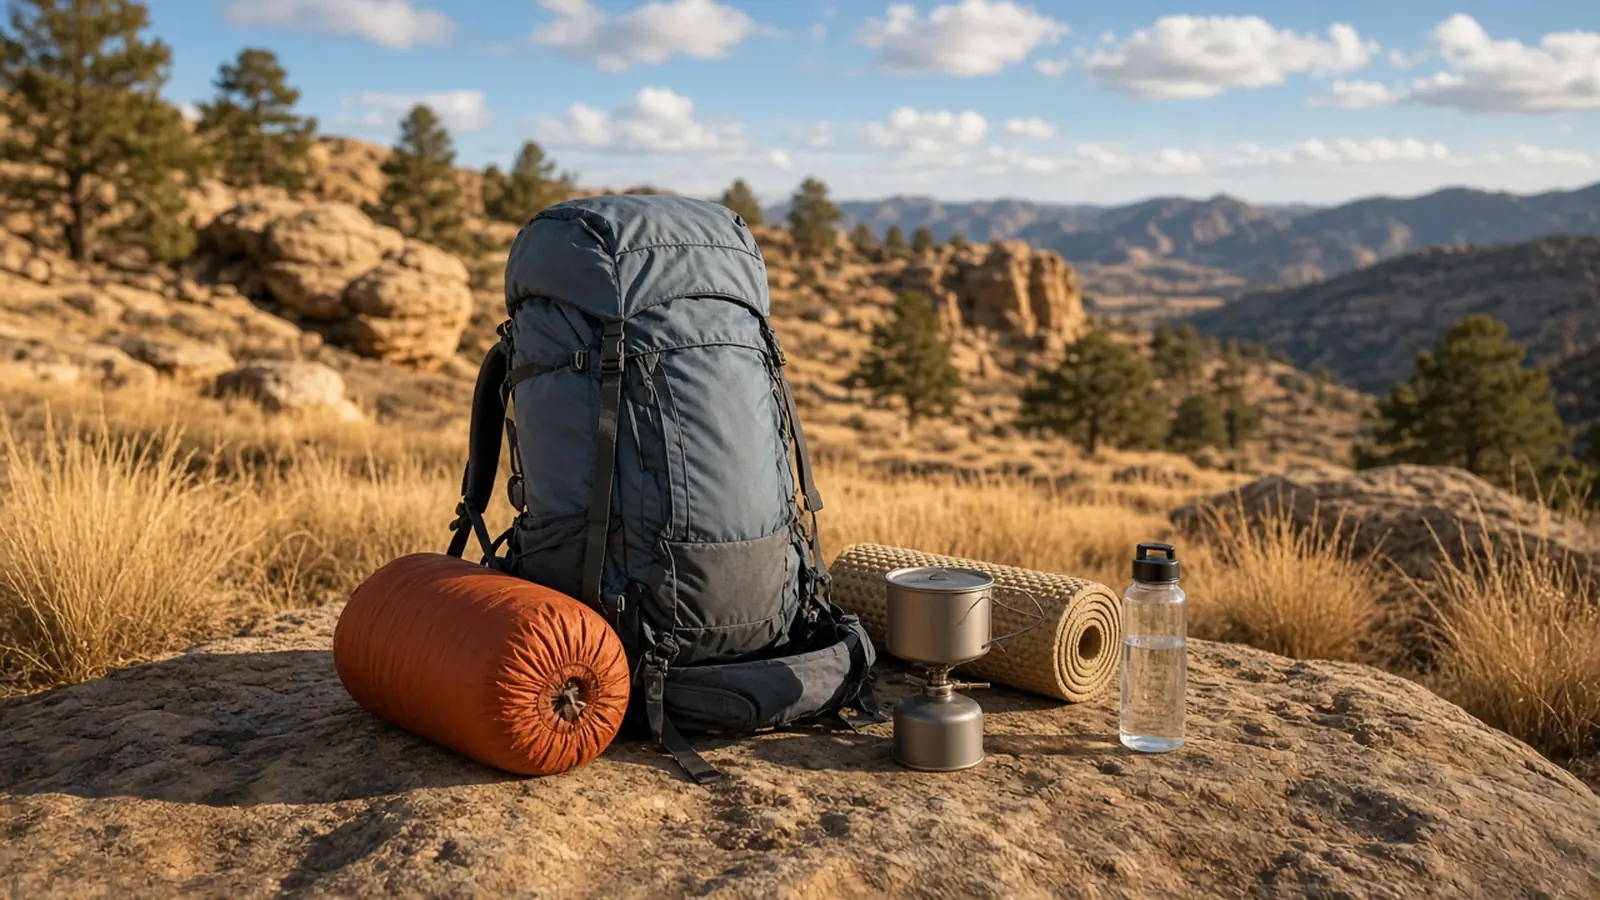
Big Three backpacking gear—shelter, sleep system, and backpack—usually accounts for a large share of base weight and almost all of your overnight safety margin. Treat them as a system, then send deep “how to choose” questions to the specialty guides.
Shelter
You need a way to stay dry and protected from wind and insects for the conditions you actually camp in—tent, tarp + bug net, hammock system, or another proven setup. Checklist items:
- Shelter body or canopy (and fly if double-wall)
- Poles or trekking poles you already carry for a non-freestanding pitch
- Stakes and guylines appropriate to expected ground
- Optional groundsheet / footprint if your floor and sites call for it
Do not buy the lightest canopy before you know season, capacity, and pitch skill. For cost vs ounces, see Are Ultralight Tents Worth the Investment?. For capacity, freestanding vs trekking-pole, walls, and materials, use How to Choose an Ultralight Tent.
Sleep system
Sleep system = insulation for your body + insulation from the ground (and a pillow if you use one). Checklist items:
- Sleeping bag or quilt matched to real overnight lows (not fear ratings alone)
- Sleeping pad with enough warmth (R-value) and comfort for your hips/shoulders
- Stuff sack or compression strategy that still fits the pack
- Optional: liner, pillow, or repair kit for the pad
Temperature rating, bag vs quilt, and fit decisions belong in How to Choose the Right Sleeping Bag for Backpacking. Here, the essential is simple: you must sleep warm enough to recover for the next day.
Backpack
The pack is the container—not the first thing to ultralight. Checklist items:
- Capacity that fits shelter + sleep + food volume for this trip length
- Torso fit and hipbelt that transfer load when the pack is fully loaded
- Frame or frameless choice matched to carried weight (not to a catalog fantasy)
- External attachment points you will actually use (sleep pad, poles, wet gear)
A lighter pack only helps after the load inside shrinks. Capacity, fit, and when not to go ultralight are covered in How to Choose the Best Ultralight Backpack for Your Next Adventure.
Clothing system (packed layers vs worn)
Think in layers, not in a closet’s worth of “camp outfits.”
Usually worn (worn weight): hiking shirt, hiking pants or shorts, underwear, socks, footwear, sun hat or equivalent, and any always-on accessories.
Usually packed (base weight):
- Insulation layer (fleece or puffy matched to nights and rest stops)
- Rain jacket (and rain pants when forecasts or exposure demand them)
- Extra socks; optionally spare underwear on longer trips
- Warm hat / gloves or mittens for cold mornings and summit winds
- Sun protection extras (long sleeves, gloves, or buff) when UV or bugs are intense
Edit rule: packed clothing should cover wet + cold + night at camp—not a different outfit for every hour of the day. Duplicate “just in case” midlayers are a common base-weight leak.
Water (treatment + storage)
You need both a way to make water safe and a way to carry it between sources.
Treatment (usually base): filter, chemical treatment, or another method you trust for the region—plus a backup plan for freezing, silt, or filter failure on longer remote trips.
Storage (mix of base + consumable fill): bottles, soft flasks, or a bladder; enough capacity for the longest dry stretch on this route, not a generic “two liters forever.”
Checklist habits that matter more than brand:
- Know where water is on the map before you leave the trailhead
- Carry empty capacity for a dry stretch even if you start topped off
- Keep dirty and clean containers straight if your system needs it
Water in the bottles is consumable weight; the bottles and filter themselves are base.
Food and cook system
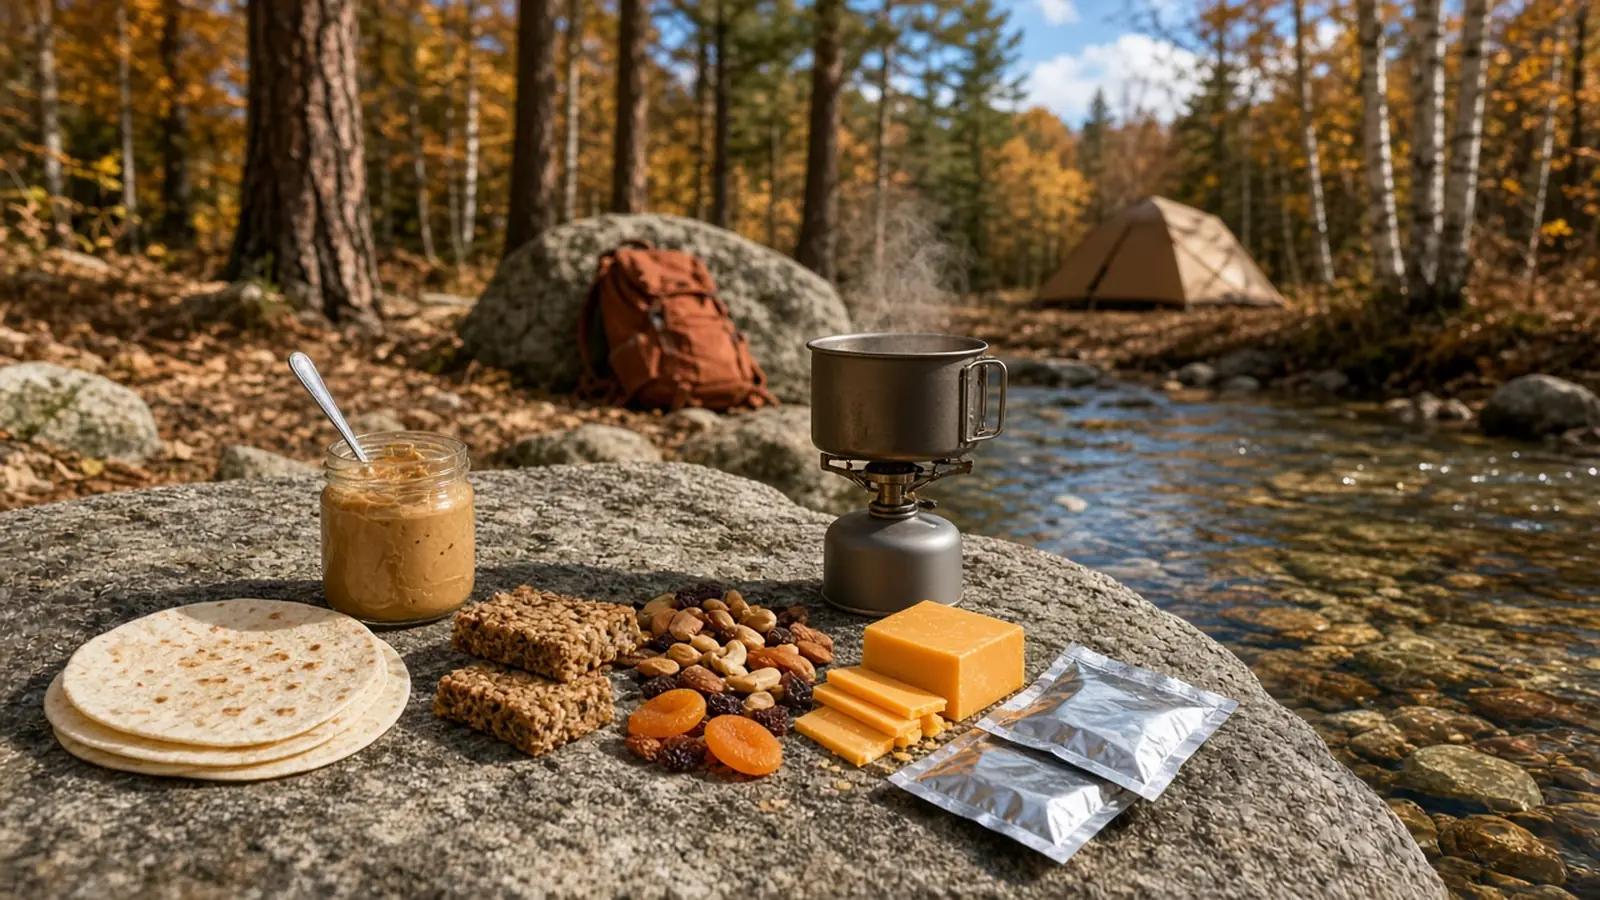
Separate hardware (base) from food and fuel (consumables).
Hardware checklist (trip-dependent):
- Stove and pot or a no-cook / cold-soak setup if that matches your trips
- Ignition (lighter / matches in a waterproof method)
- Spork or utensil; optional mug if not eating from the pot
- Bear-aware storage when regulations or animals require it (canister, Ursack-style system, or proper hangs—follow local rules)
Consumables: meals, snacks, electrolytes, and fuel for the stove you brought.
You do not need a stove every trip. Short summer weekends often work with no-cook food; cold shoulder-season nights and group dinners often justify a shared cook system. Share one stove between two hikers when it fits the itinerary—free weight savings before any upgrade purchase.
Navigation, light, first aid, repair, and hygiene
These are the quiet essentials that keep a normal trip from becoming an emergency. Keep them boring and complete—not theatrical.
Navigation
- Primary map (paper or downloaded offline maps you already verified)
- Compass you know how to use with that map
- Phone or GPS as a supplement, with battery plan (power bank if nights are long)
- Route notes: miles, water, camping constraints, bailouts
Light
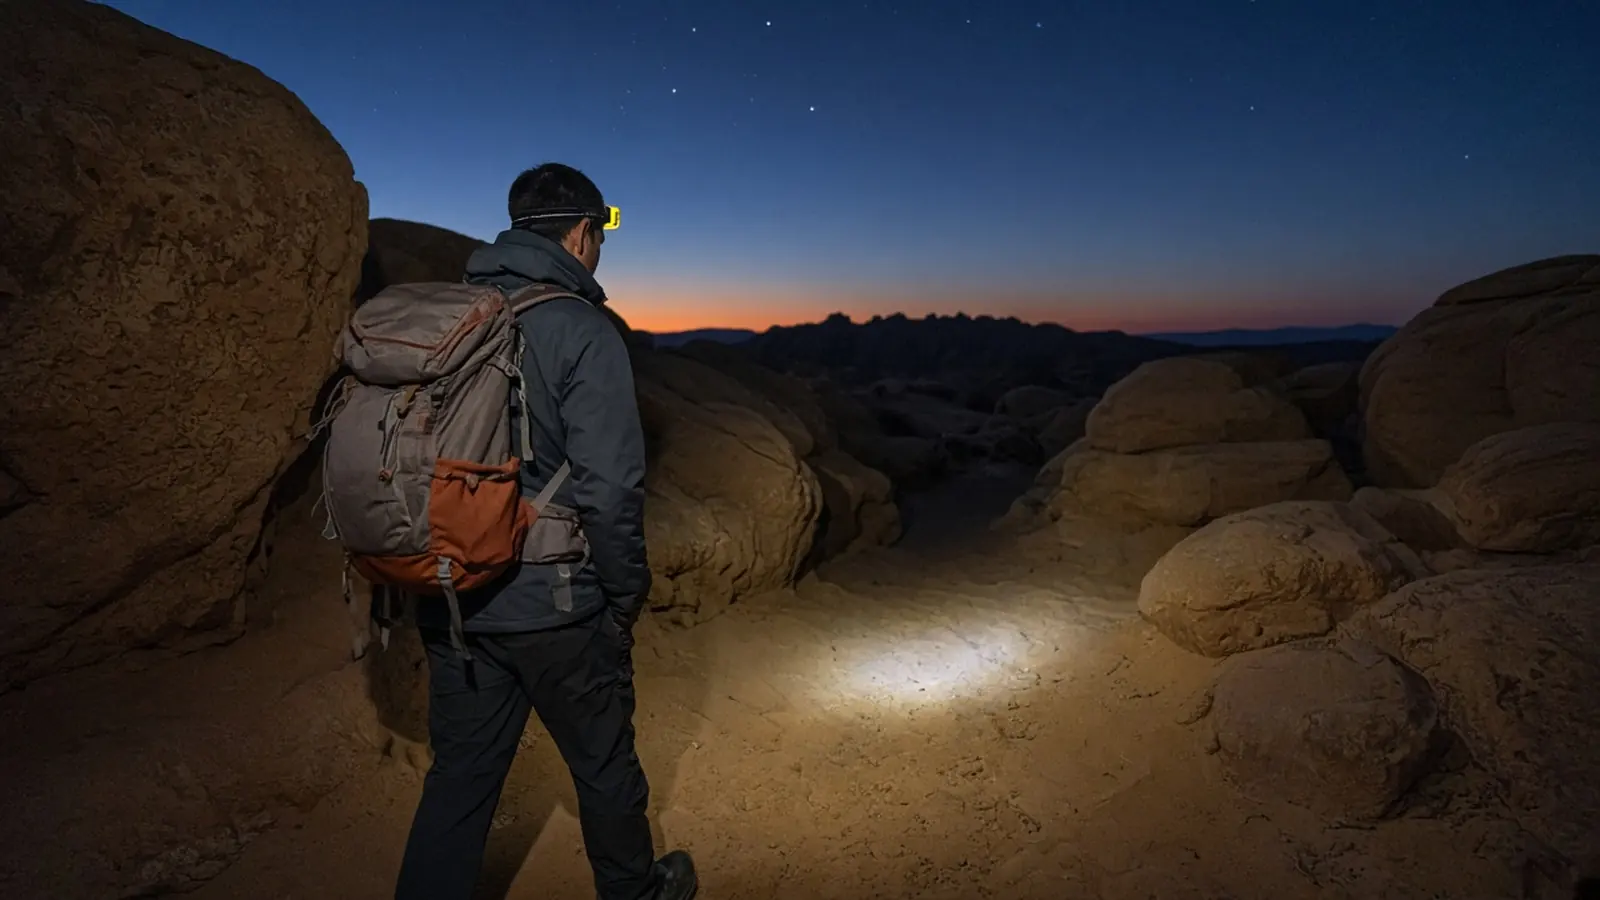
- Headlamp or dedicated light with fresh batteries or known charge
- One simple backup (spare batteries or a second tiny light) on remote or shoulder-season trips
First aid
- Personal meds you need
- Blister care, a few bandages/gauze, tape, antiseptic wipes
- Pain relief and any trip-specific items (altitude, allergies) you actually use
- Knowledge beats bulk: a huge unused pharmacy is not safer than a small kit you understand
Repair
- Tape (gear tape or tenacious tape-style), needle/thread or repair patches for sleep pad/shelter if relevant
- Cordage scrap, a few spare buckles or safety pins as your kit warrants
- Multi-tool or knife only as heavy as your real repair and food needs
Hygiene / leave-no-trace
- Toilet kit: trowel where required, waste bags where required, hand sanitizer, small toilet paper or wipes packed out
- Basic soap / toothpaste in tiny amounts; sunscreen and bug protection as conditions demand
- Pack-out plan for trash and, where rules say so, human waste
No fear-mongering: match first aid and navigation depth to distance from help and terrain difficulty, not to internet horror stories.
Optional and trip-specific gear
“Extra” is smart when the trip asks for it—and clutter when it does not. Common optionals:
- Trekking poles (stability, knee relief, and shelter poles for non-freestanding designs)
- Camp shoes for multi-day trips with wet evenings
- Insect head net, microspikes, or ice axe when season and route require them
- Chair or sit pad if rest quality matters more than the ounces for your body
- Camera, fishing kit, or other hobby gear—budget it honestly in base weight
- Group items: shared shelter, cook kit, water treatment, or emergency communicator
Ask once: Will this change safety, sleep, or forward progress on this itinerary? If no, leave it.
Building the list without overbuying
A durable backpacking gear list comes from an edit order, not from a haul video.
- Need — Walk the checklist above for this trip’s season, nights, and water. Write every item.
- Share — For duo/group trips, one cook system, one water treatment, one first-aid core, sometimes one shelter.
- Remove — Cut duplicates and unused “camp luxury” before you spend.
- Then upgrade — Big Three first (shelter → sleep → pack for most hikers), then clothing and cook ounces if miles still demand it.
Weigh what you actually carry. Catalog claims omit stakes, groundsheets, and stuffed-bag realities. After each swap, recalculate base weight so you know whether the change mattered. The goal of essential gear is a kit you can explain—not a kit that looks light on a spreadsheet while leaving you cold or lost.
Build your list in Pack Builder
Once the checklist on this page matches your next trip, put the ounces where you can see them.
Clever Backpacking’s Pack Builder lets you:
- Build a named gear list with trip length and expected low temperature
- Track base weight, consumables (food & water), worn weight (clothes & boots), and total pack weight separately
- Review category breakdowns and Clever Shakedown ideas (weight-saving notes and redundancy warnings)
- Import or export a LighterPack-compatible CSV if you already keep a list elsewhere
That is how this essentials map becomes a living backpacking checklist instead of a one-time article skim. For definitions and what to cut first after the list exists, use the ultralight base weight guide. For the full planner set, see all Clever Backpacking tools.
Related reading
- Ultralight Base Weight Guide — definitions, ranges, and cut order
- Pack Builder — track base / worn / consumables
- Clever Backpacking tools — all planners in one place
- How to Choose the Right Sleeping Bag for Backpacking
- How to Choose the Best Ultralight Backpack for Your Next Adventure
- Are Ultralight Tents Worth the Investment?
- How to Choose an Ultralight Tent — capacity, structure, materials
Essentials first. Weight math second. Tracking always. That is how a practical kit stays clever instead of cluttered.