How to Choose the Right Sleeping Bag for Backpacking
A backpacking sleeping bag is one of the heaviest—and most important—items in your kit. Choose well and you sleep warm without dragging unnecessary ounces. Choose poorly and you either shiver through the night or carry a winter bag on mild summer weekends.
Learning how to choose a backpacking sleeping bag means matching four decisions to your real trips: temperature rating, insulation type (down vs synthetic), weight and packability, and fit. This guide walks that order so you buy for the conditions you actually hike—not for fear or marketing labels.
For the broader picture of what belongs in a solid kit before you start trimming ounces, see our essential backpacking gear checklist.
Key takeaways
- Match temperature rating (prefer comfort rating) to the coldest nights you actually expect—not fear or marketing.
- Choose down vs synthetic for moisture, weight goals, and budget—not a universal winner.
- Treat sleeping bag weight and packability as a Big Three decision that affects base weight.
- Get mummy bag fit (or quilt trade-offs) right so insulation can loft and you can sleep.
- Plan the whole sleep system: bag + pad R-value + dry sleep clothes + shelter.
What matters most when choosing a backpacking sleeping bag
Start with use case, not catalog photos.
Ask three questions before you look at fill power, baffle design, or brand names:
- What are the coldest nights I realistically expect? Look at forecast lows for the routes and seasons you hike most—not the rare alpine storm you might do once.
- How cold do I sleep? Some people run cold even in a well-rated bag; others sleep hot. Your physiology is part of the equation.
- How much weight and pack volume can I afford? Sleep gear sits in the Big Three (shelter, sleep system, pack). A warmer bag that never gets used still costs base weight every day.
For most hikers shopping a three-season backpacking sleeping bag, that points toward a bag sized for shoulder-season lows with a little margin—not a midsummer bag and not a winter mountaineering bag. Priority order: temperature rating and trip conditions first, then insulation type, then weight, then fit.
If your trips span wide seasons, one bag may not cover everything. Many hikers keep a three-season bag (or quilt) and add clothing and pad R-value for colder nights—or own a second colder-weather option if those nights are frequent.
Sleeping bag temperature ratings: comfort vs limit
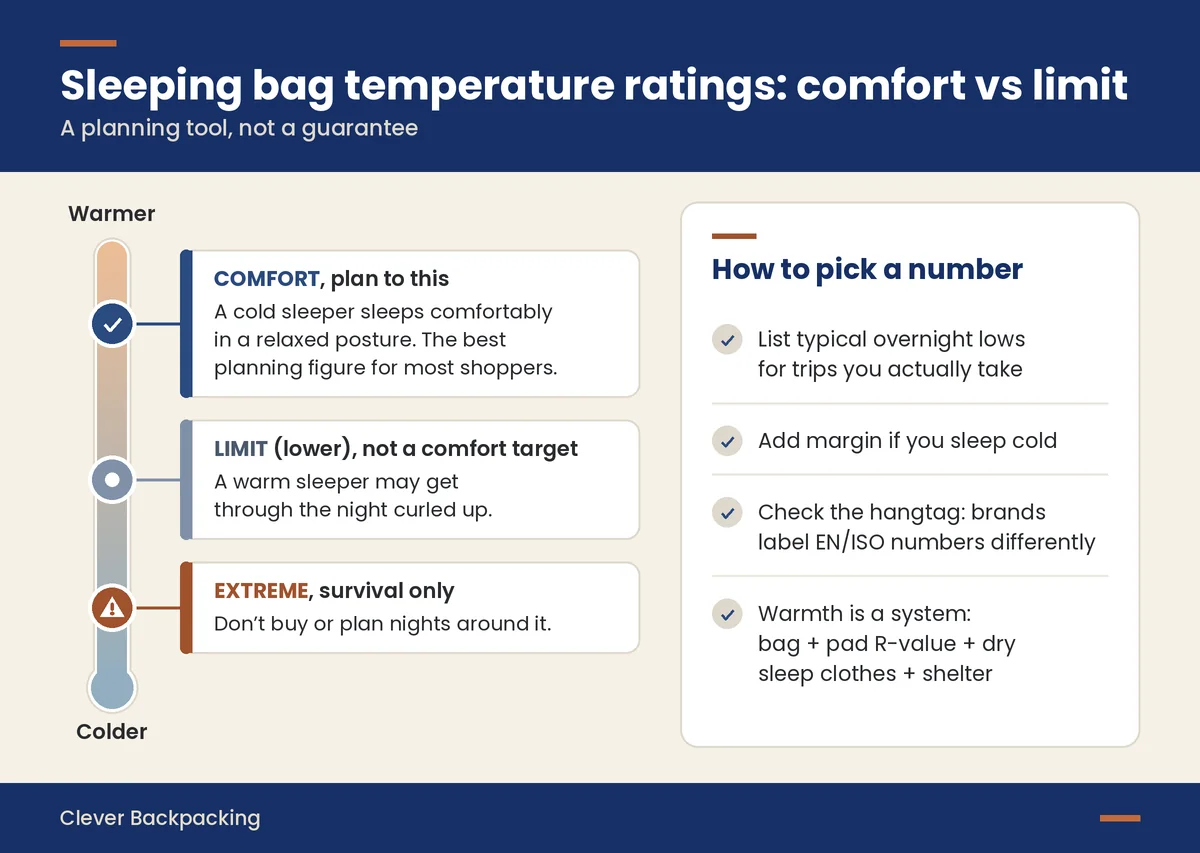
A sleeping bag temperature rating is a planning tool, not a guarantee. Labels help you compare bags, but pad, clothing, shelter, humidity, wind, and how tired or fueled you are all change how warm you feel.
Comfort rating vs limit (and what “extreme” means)
Many modern bags use EN / ISO lab tests and publish more than one number:
- Comfort rating — Temperature where a “cold sleeper” reference person is expected to sleep comfortably in a relaxed posture. For most shoppers, this is the best planning figure.
- Lower / limit rating — Colder temperature where a “warm sleeper” may get through the night curled up—not a comfort target.
- Extreme rating — Survival only. Do not buy or plan nights around it.
Marketing often highlights the colder limit number. Prefer bags that publish a clear comfort rating, and plan to that unless you know you sleep warm. Always check the hangtag or product page for which number is the comfort rating—brands label the same EN/ISO figures differently.
How to pick a number
- List typical overnight lows for the trips you actually take (not once-a-year extremes).
- Add personal margin. If you sleep cold, aim for a comfort rating at or slightly warmer than those lows rather than leaning on the limit number. If you sleep hot, you can stay closer to the forecast.
- Check the sleep system, not the bag alone. A well-rated bag on a thin, low-R-value pad can still feel cold.
- Do not overbuy “just in case.” Extra insulation is extra sleeping bag weight and bulk every mile.
If a product page shows only one temperature, check whether the brand labels it Comfort, Limit, or a non-EN/ISO marketing number. Brands differ—some headline Comfort (especially women’s lines), some headline Limit (often men’s/unisex), and some publish a single marketing temp that is neither. If the number is unlabeled, check the hangtag or support docs; if you still cannot tell, leave extra personal margin and assume it may be optimistic versus a true Comfort rating—do not automatically treat every single number as a Limit.
Down vs synthetic sleeping bags
Down vs synthetic is the second major fork after temperature.
Down
Down (goose or duck) offers excellent warmth for its weight and compresses small. Higher fill power generally means more loft per ounce. Stored dry and uncompressed at home, quality down tends to keep loft for years.
Trade-offs: wet down loses loft until it dries (treatments help; they are not waterproof); upfront cost is usually higher; care and dry storage matter. Down suits dry or carefully managed trips where warmth-per-ounce and pack space matter most.
Synthetic
Synthetic fills usually stay warmer when damp than untreated down, often dry faster in the field, and cost less. They suit wet climates, heavy dew, or simpler care.
Trade-offs: for the same warmth, synthetic usually weighs more and packs larger; some fills lose loft faster over years of compression than good down.
A simple decision rule
- Choose down when weight and packability matter most and you can keep the bag reasonably dry.
- Choose synthetic when wet conditions are common, budget is tighter, or damp performance matters more.
- Treated-down or hybrid options sit in the middle—still treat moisture as a system problem (shelter, groundsheet, dry stuff sack), not a label fix.
No universal winner—only a better match for your weather and packing goals.
Weight and packability (and how they affect base weight)
After warmth and insulation type, look at sleeping bag weight and packed size.
Sleep systems are often the second-largest base-weight lever after shelter. A bag a pound heavier than you need is a pound on every climb, every trip. That is why sleep gear shows up early in an ultralight base weight plan.
When shopping, compare:
- Bag weight in the same temperature class and size — a colder-rated “lighter” bag is not a win if you never need that warmth.
- Compressed volume — bulk can force a larger pack.
- Whole sleep system weight — bag + pad (+ liner/pillow). Cutting bag ounces while buying a much heavier pad erases the gain.
An ultralight sleeping bag (or quilt) can be a smart upgrade once temperature needs are clear. Chasing the lightest listed ounces first often means cold nights or a re-buy. Match the rating; then trim weight inside that rating.
Log the bag and pad in base weight, not worn weight. Food and water stay consumables. Clear categories make swaps measurable—especially in Pack Builder.
Shape and fit: mummy bags, quilts, and why fit matters
Mummy bags
Most backpacking bags use a mummy shape: tapered legs, hood, draft collar, and zipper—less empty air to heat and less fabric weight.
Mummy bag fit matters as much as the shape name:
- Too tight compresses insulation (cold spots), feels claustrophobic, or blocks a midlayer.
- Too roomy means more air to warm and often extra fabric.
- Check shoulder, hip, and footbox measurements—not only “Regular / Long.”
Women-specific and gender-neutral cuts often change insulation placement and girth. Use the cut that fits your body, not the marketing label alone.
Quilts
Quilts usually skip a full underside and often a hood, relying on your pad for ground insulation and a hooded jacket (or separate hood) for your head. They can save weight and feel freer for side sleepers, but pad R-value, draft control, and clothing become part of the warmth equation.
Quilts are a valid option—not a required upgrade. Choose a quilt if you accept those trade-offs; choose a mummy for a simpler enclosed system, especially in colder or windier camps.
Zippers, hoods, and draft control
Full-length zippers vent better and add some weight; half-zips save weight. Draft tubes, draft collars, and hoods that cinch without flattening insulation help on cold nights. When you can, try bags on: lie down, zip up in your sleep clothes, and check shoulder and footbox compression.
Your backpacking sleep system: bag + pad + clothing
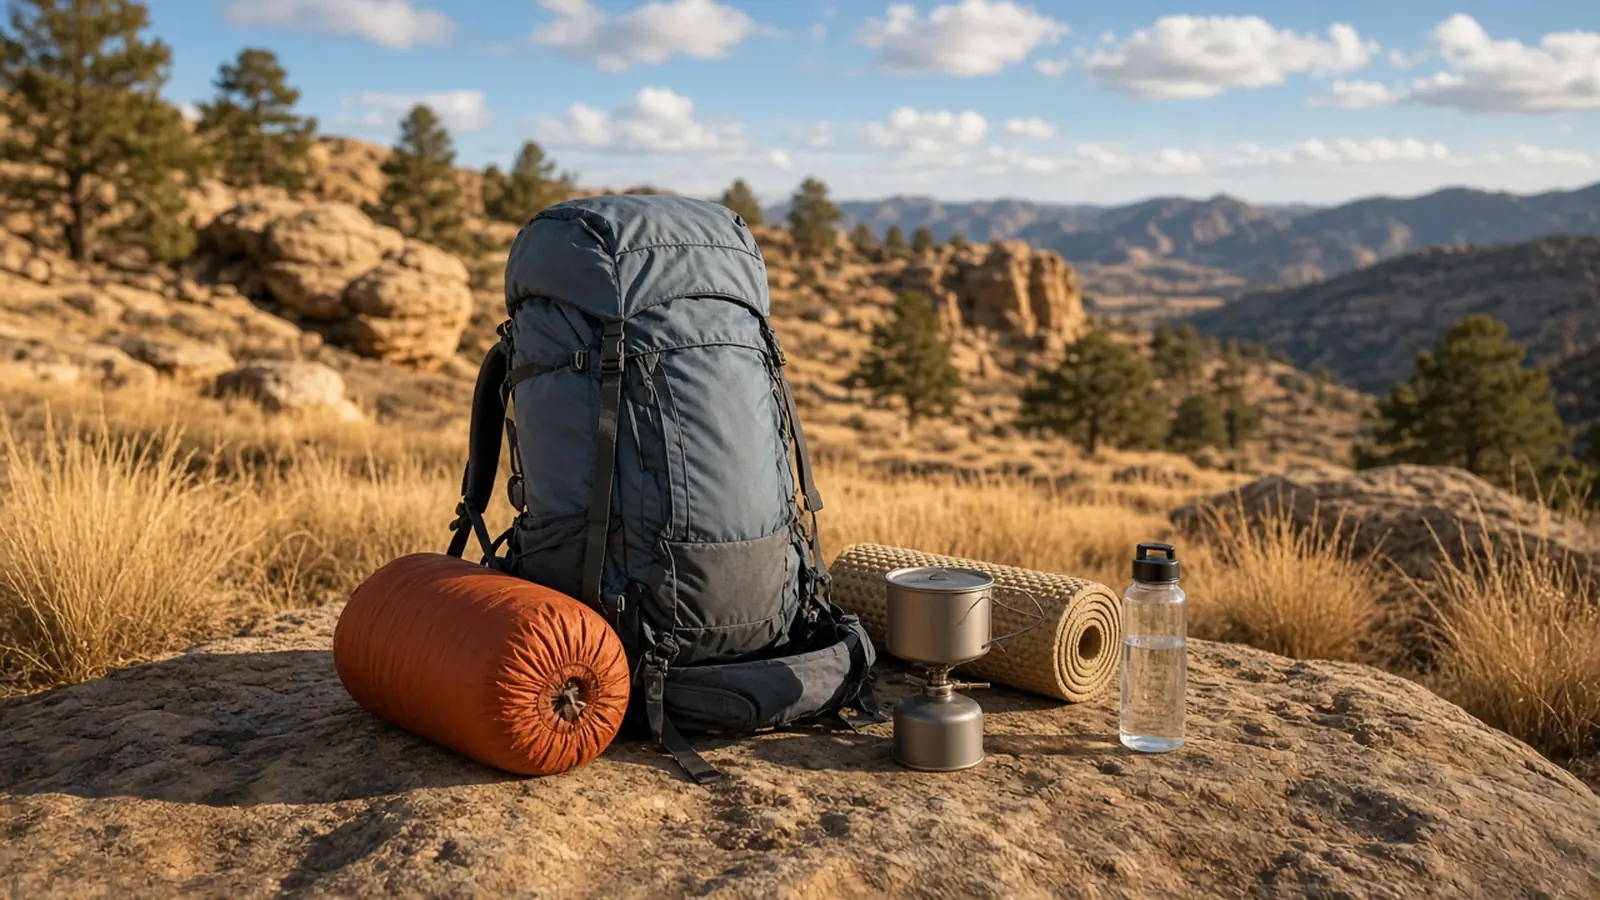
A bag does not sleep alone. Think backpacking sleep system:
- Bag or quilt — Loft and temperature rating.
- Sleeping pad — Ground insulation (R-value) plus cushion. A warm bag on a thin pad on cold earth is a common reason people blame a well-rated bag. A dedicated pad guide is later in the queue; for now, treat R-value as part of the warmth decision.
- Clothing — Dry base layers, a midlayer, socks, and a hat or hood add warmth without upsizing the bag. Damp day clothes work against you.
- Shelter — Tent, tarp, or bivy change wind and moisture exposure.
When nights look colder than your comfort rating, try a higher-R pad, dry sleep clothes, food and hydration, and a draft-free pitch before buying a much heavier bag. When nights are consistently colder than the system can handle, a colder-rated bag (or winter kit) earns its place.
How to decide: a simple checklist
Use this order when you learn how to choose a backpacking sleeping bag—or when you reassess a kit:
- Define the trip set. Seasons, regions, and typical overnight lows—not one scary hypothetical night.
- Pick a comfort-oriented temperature target. Prefer published comfort rating figures; add personal margin if you sleep cold.
- Choose down or synthetic for your moisture reality and budget.
- Compare weight and packed size only among bags that meet the warmth and insulation needs.
- Confirm fit and shape (mummy vs quilt; length/girth; hood and draft features).
- Plan the rest of the sleep system (pad R-value, sleep clothes, shelter).
- Weigh the decision against base weight goals. If you are trimming a traditional kit, sleep is usually worth reviewing right after shelter—see the cut order in our base weight guide.
- Buy for your miles. Skip “#1 ultralight” hype and product-winner lists that do not match your temperatures.
If you are also resizing the pack that carries the sleep system, fit capacity to the shrunk load—not the old one. Our ultralight backpack guide covers that companion decision.
Build your sleep system list in Pack Builder
Once you have a candidate bag (or quilt) and pad in mind, put the ounces where you can see them.
Clever Pack Builder builds a trip gear list and tracks base weight, consumables, worn weight, and total pack weight separately—so the sleep system sits in the right bucket. Set expected low temperature and trip length to keep sleep and clothing choices honest, review category breakdowns, and import or export a LighterPack-compatible CSV if you already keep a list. See all trip planners on the Clever Backpacking tools hub.
Pair it with the Ultralight Base Weight Guide for definitions and cut-order logic. The goal is not the lightest bag on a spreadsheet—it is a sleep system that matches your nights and a pack weight you can explain.